

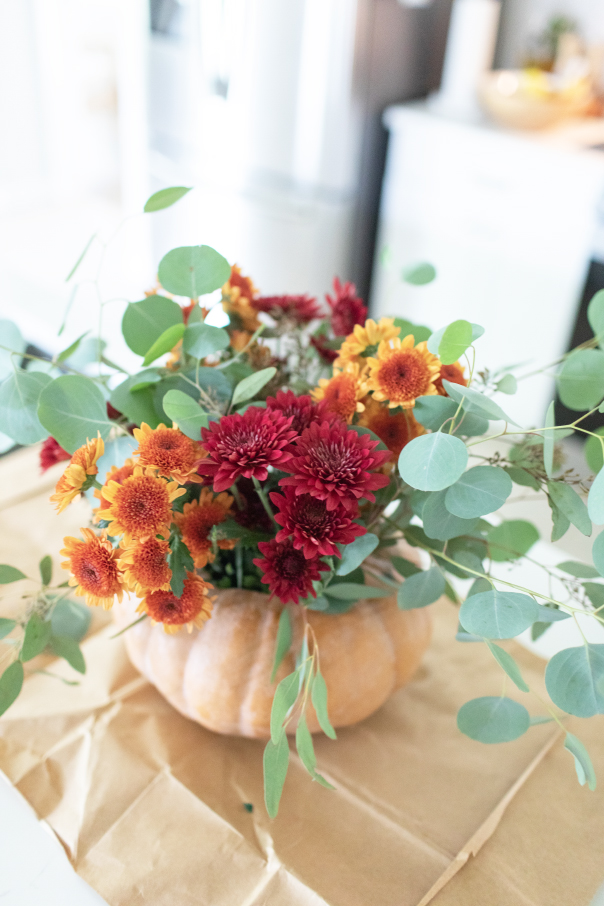
Pumpkin Floral Arrangement For Fall
Some of the links in this post may be affiliate links.
This means if you click through and make a purchase, I may earn a small commission at no extra cost to you. See our disclosure for more info.
Do you want to make an easy Pumpkin Floral Arrangement For Fall? I’ve got you covered! I’m sure you’ve come across cute little pumpkin arrangements and wondered how to make one for yourself! Today I am sharing an easy tutorial for you to make your own pumpkin floral arrangement! I found all of my florals and pumpkins at Trader Joe’s. It’s just an easy spot to drive to and pick up some affordable flowers!
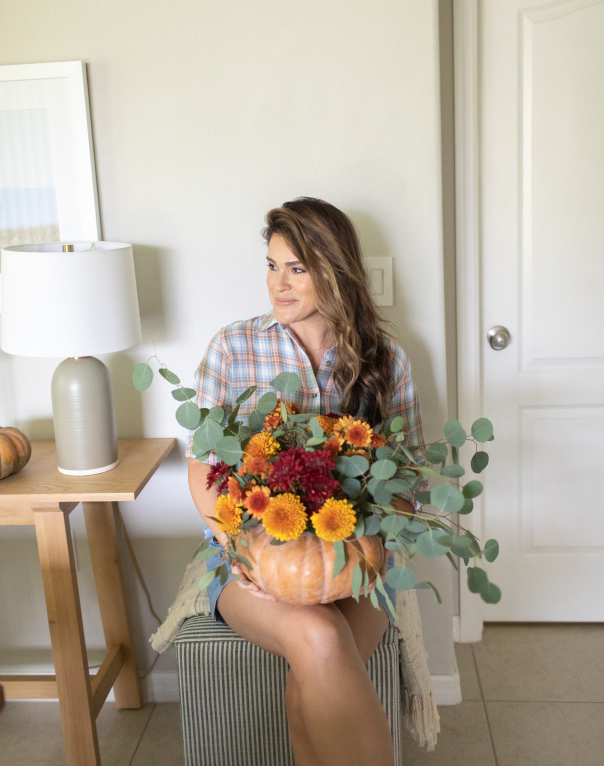
This is a fun decor piece for the month of October and November. Placing it on your console table, using it as a centerpiece on your dining table or kitchen bar area! Tag your pumpkin arrangement with @andimans and show me how yours turned out! And be sure to check out more Home posts on the blog!

What You Will Need
Wet Foam
Floral & Greenery ( Trader Joe’s or your local flower market )
Floral Scissors
Floral Bucket
Real Pumpkin Medium to Large size
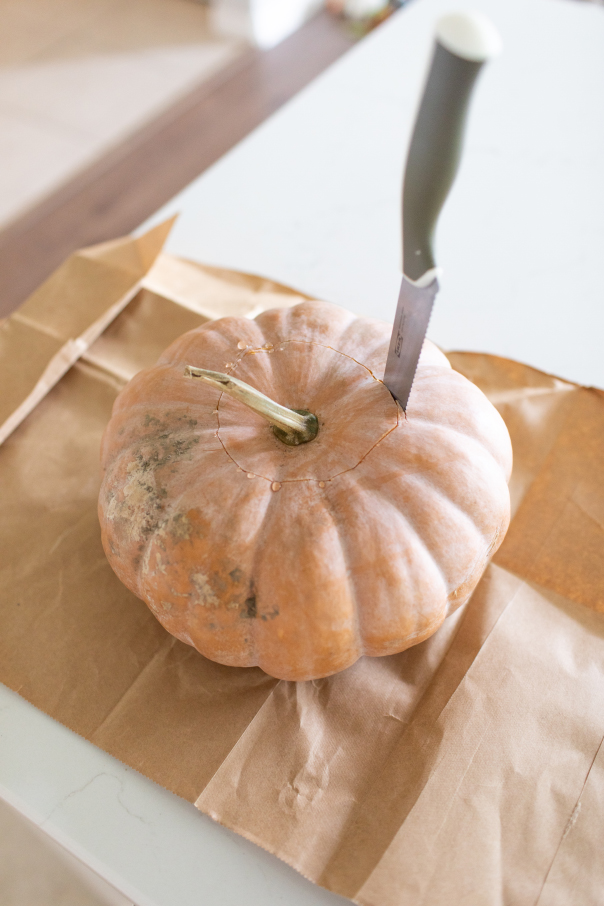
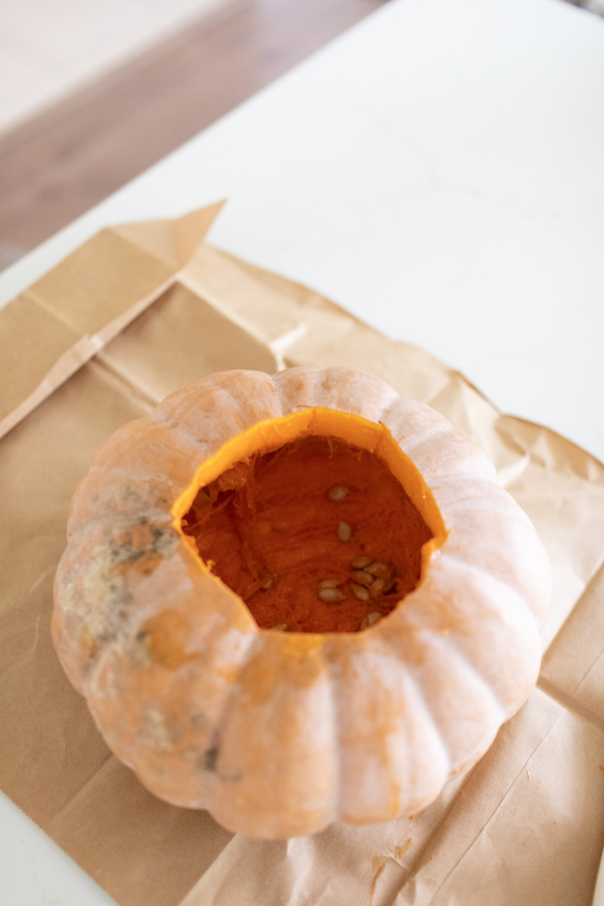
Step One
Cut your pumpkin top open and get all the guts out, if you love pumpkin seeds, you can set those aside and roast on your own time. For now, we want to get the pumpkin as clean as possible!
Step Two
Next, be sure to soak your wet foam in water before placing it. Here’s an easy tutorial on how to soak your wet foam properly. You can just use your kitchen sink or bathroom tub! Cut your sponge after it’s soaked to fit the desired hole that was created and place inside.

Step Three
Grab your greenery and floral. Cut the stems down and any extra leaves so that the stems are clean when inserting. You want to make sure that when inserting the stem into the sponge it’s easy to! Cut the stems down to keep some length, enough that when you insert it’s sitting at a good height, not too high or not too short from the distance of the pumpkin and the actual view of the floral. Insert your greenery first!
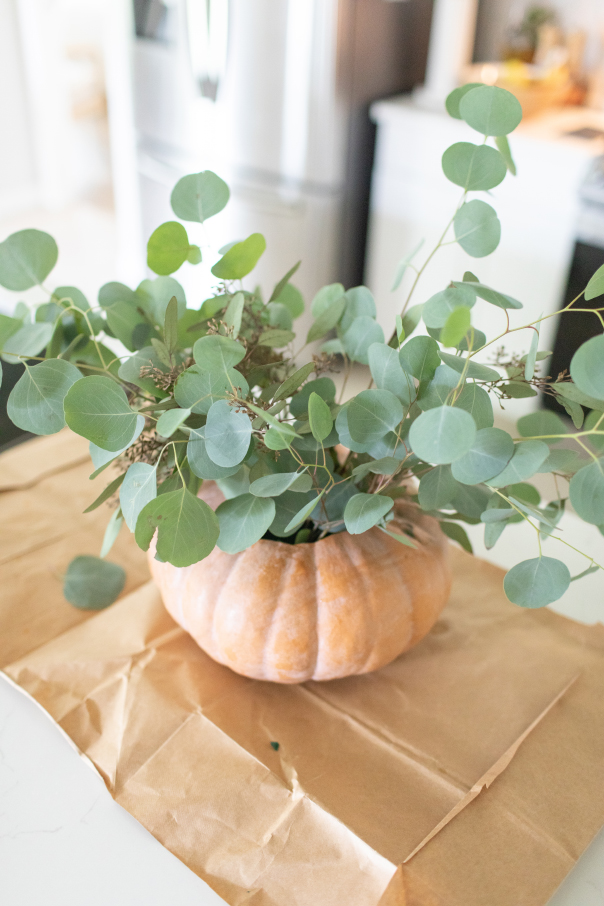
Step Four
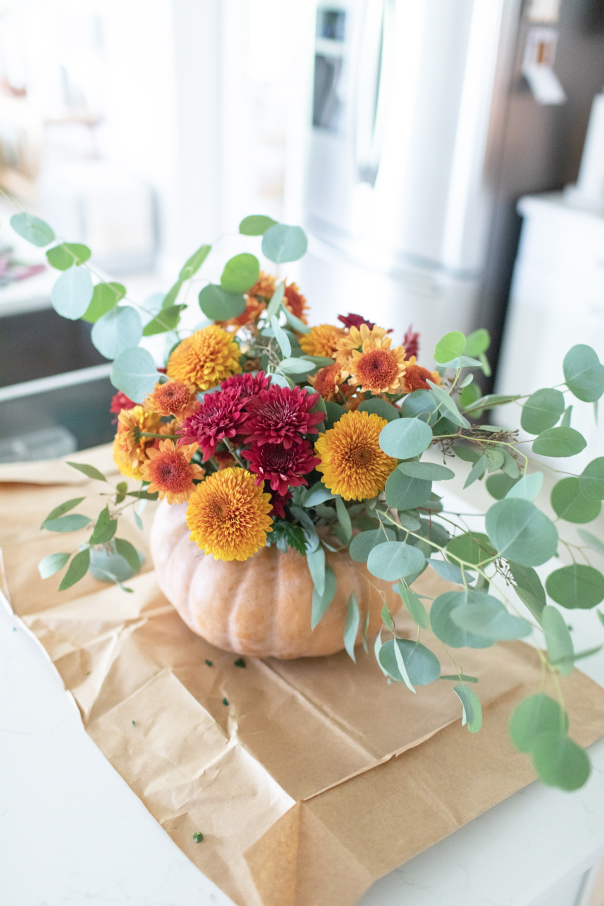
Start by inserting your greenery stems one by one. Add your greenery to each corner, then another next to that going towards the inside of the sponge and in the center. Have fun with it, no right way is needed, to achieve a more organic look let the stems go in different directions and heights!
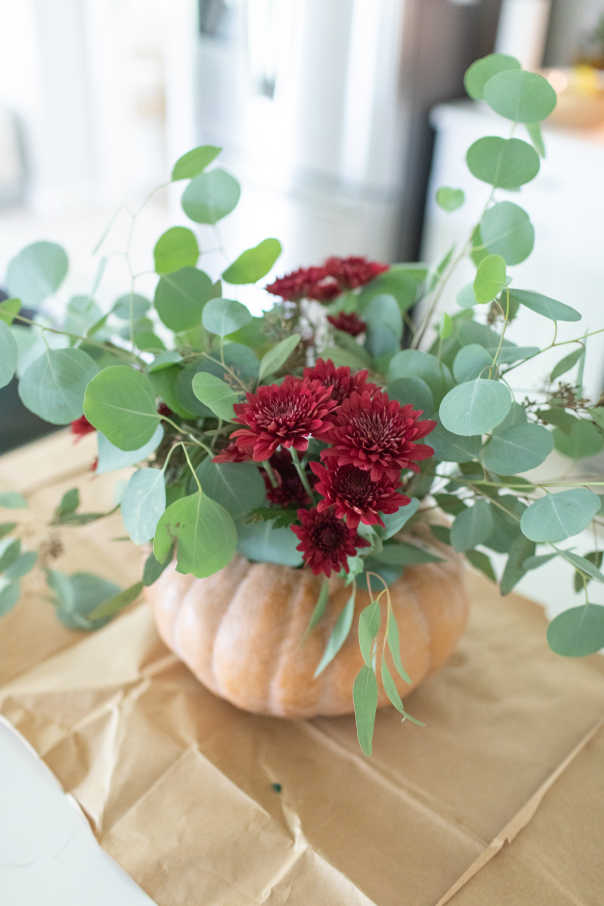
Step Five
Next, insert your floral. Repeating the same idea of the greenery. Of course you will have less stems to insert as the greenery has a bit more coverage but rotate your pumpkin as you insert to make sure you cover the front and back!
Step Six
I like to choose a “focal flower” that makes my arrangements pop! In this case, I found a beautiful bright mustard colored Dalia to be the showstopper.
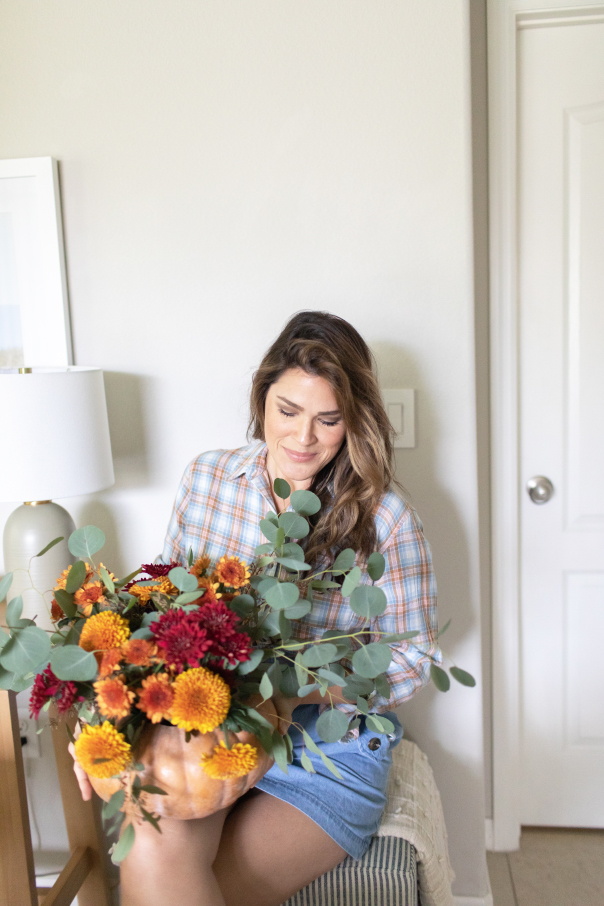
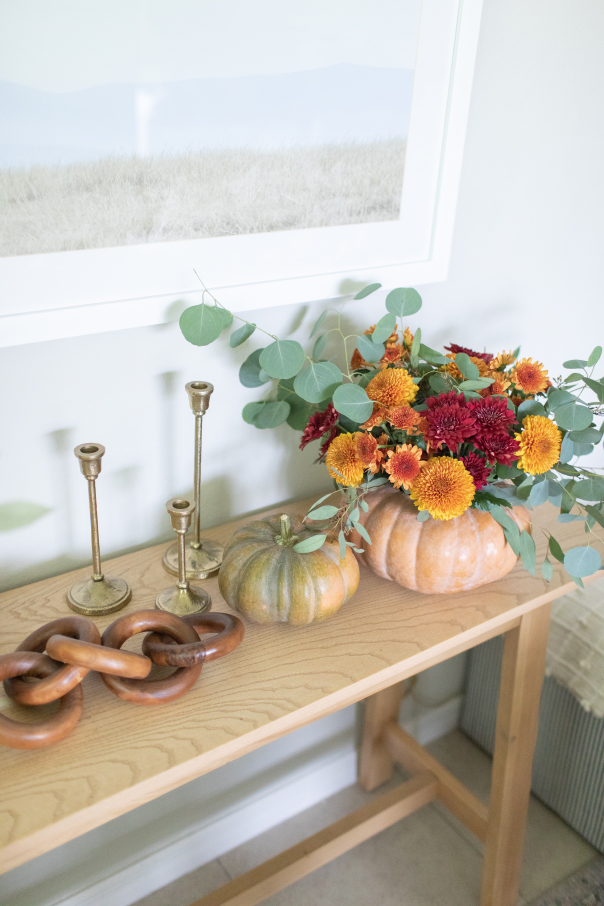
You’ve Made Yourself a Pumpkin Arrangement
Great job! Now its time to place it somewhere pretty and show your hard work off! You can add these arrangements to your dining table, kitchen counter, console table, coffee table, give as a gift, as a centerpiece or anywhere you like!
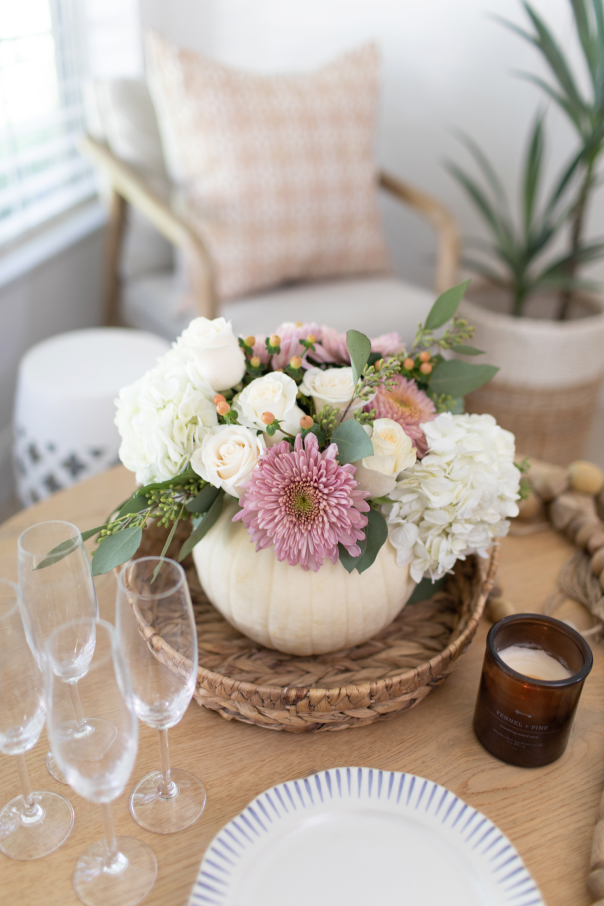
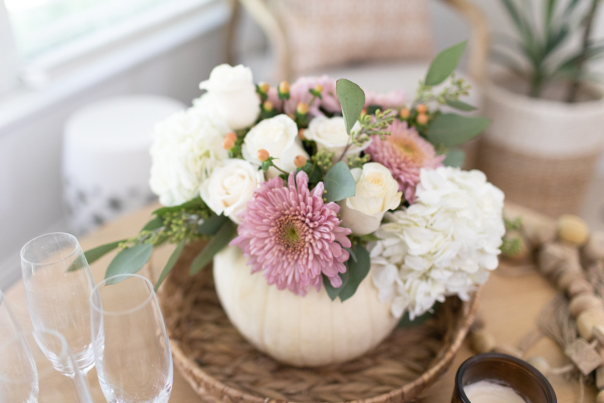
A Softer Approach For The Autumn Season
Here’s an alternative to the Fall colors and a pastel look! Purchase a white pumpkin and softer colored like whites, beige’s and blush floral!
The Fun Doesn’t Have to End!
Make sure to head to my blog and check out more Fall posts or follow me on instagram for daily finds and chats!

")
