
")
")
")
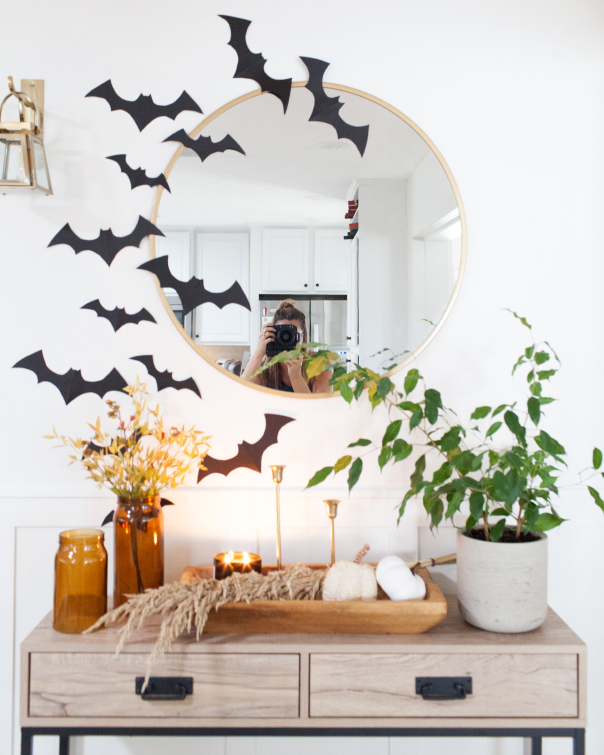
Easy DIY Flying Bats
Transform your Halloween decor with these Easy DIY Flying Bats! Crafting these fun and spooky bat decorations is a breeze and adds a playful touch to your festive setup. Simply stick them on your walls or windows for an instant frightful effect. Perfect for both kids and adults, this DIY project is a creative way to celebrate Halloween with minimal effort and maximum impact. Enjoy the fun of making these Easy DIY Flying Bats and watch your space come alive with Halloween spirit!
Shop DIY Flying Bat Finds

4 Spots to add your Flying Bats
- Front Door Entryway: Create a spooky welcome for your guests by sticking the flying bats around your front door. Arrange them in a fluttering pattern for a dramatic entrance.
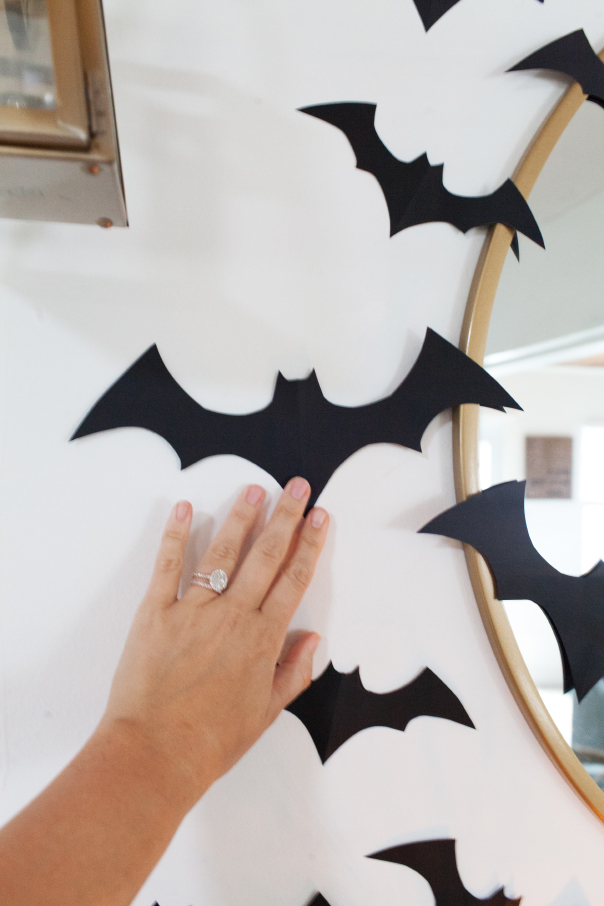
- Living Room Walls: Add a touch of Halloween to your living room by placing the bats on your walls. Cluster them in the corners or along the edges to create a creepy, flying effect.
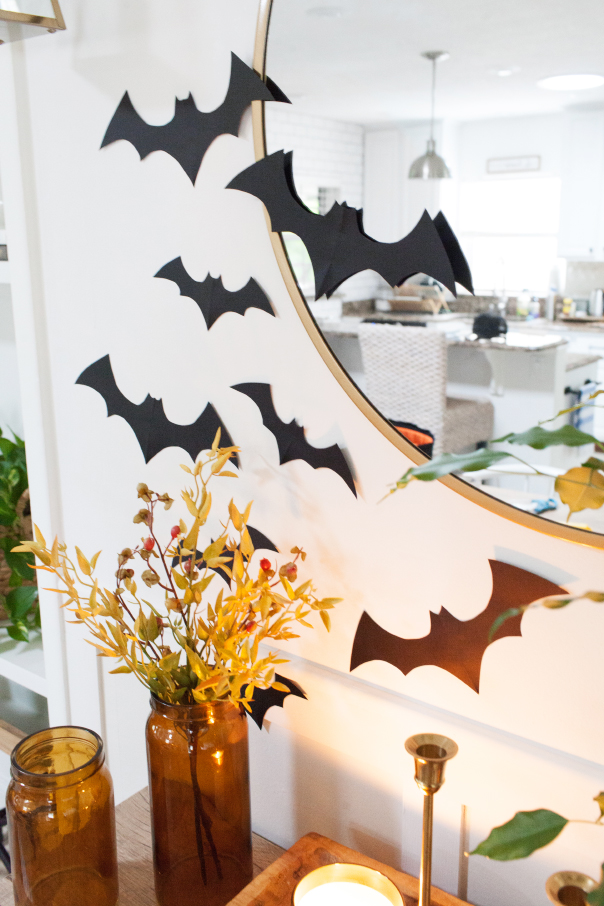
- Window Panes: Decorate your windows with the flying bats to give the illusion of them swooping in from outside. This adds an eerie vibe that will catch the attention of anyone passing by.
- Ceiling Corners: Attach the bats to the corners of your ceilings to make it look like they’re swooping down from above. This gives a dynamic and immersive feel to your Halloween decor.

Check out more Home posts!


")


[…] DIY Paper Bats by Andi Mans are such a fun and easy craft project! They look so cute, and they are also super […]