
DIY Board and Batten Wall
Some of the links in this post may be affiliate links.
This means if you click through and make a purchase, I may earn a small commission at no extra cost to you. See our disclosure for more info.
Our home had flat walls when we moved into our Fixer Upper and I knew we had to create some sort of dimension or it would just stay looking boring and well, with no personality.
Home Renovations
One Sunday while dreaming about things we wanted to improve in our home, I got to thinking “why don’t we add board and batten around our living room”, we had already done it on our office! After a few more sips of coffee, My husband Lucas and I put our sneakers on and took a drive to Home Depot to get our supplies we needed to begin!
It’s so easy to create, and you can do it too. This would work in any bedroom as well, you can also add as many panels as you like, we went straight down but we could have added another plank across to make it a square design, which hmmm…we may in the future, but for now, let me explain how we did it!
First Things First
You will need to measure the length of whatever wall you decide to add the Board and Batten so you can have the correct amount of wood, so get that measured out and write those down.
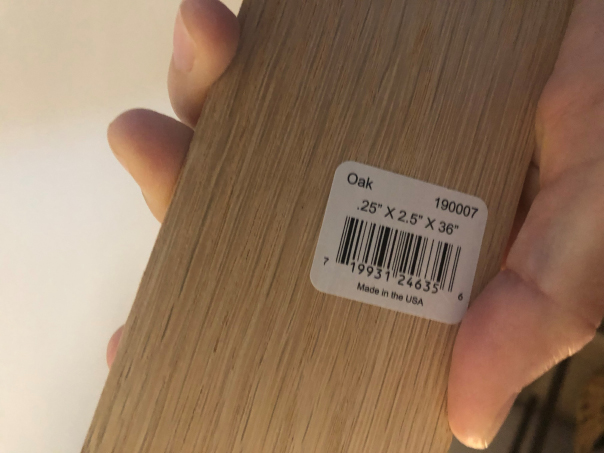
You will need:
Oak Wood Planks
( depending on how high or long you need yours to be )
Pine Molding
( All kinds of options, but we wanted something to stick out a tad bit more to add dimension, you can add a larger width plank on top to stick out more as well so that you can place frames on it when ready as a type of shelf )
Paint
( to match your current wall, or you could paint it another color as an accent )
Nails & Hammer OR Nail Gun
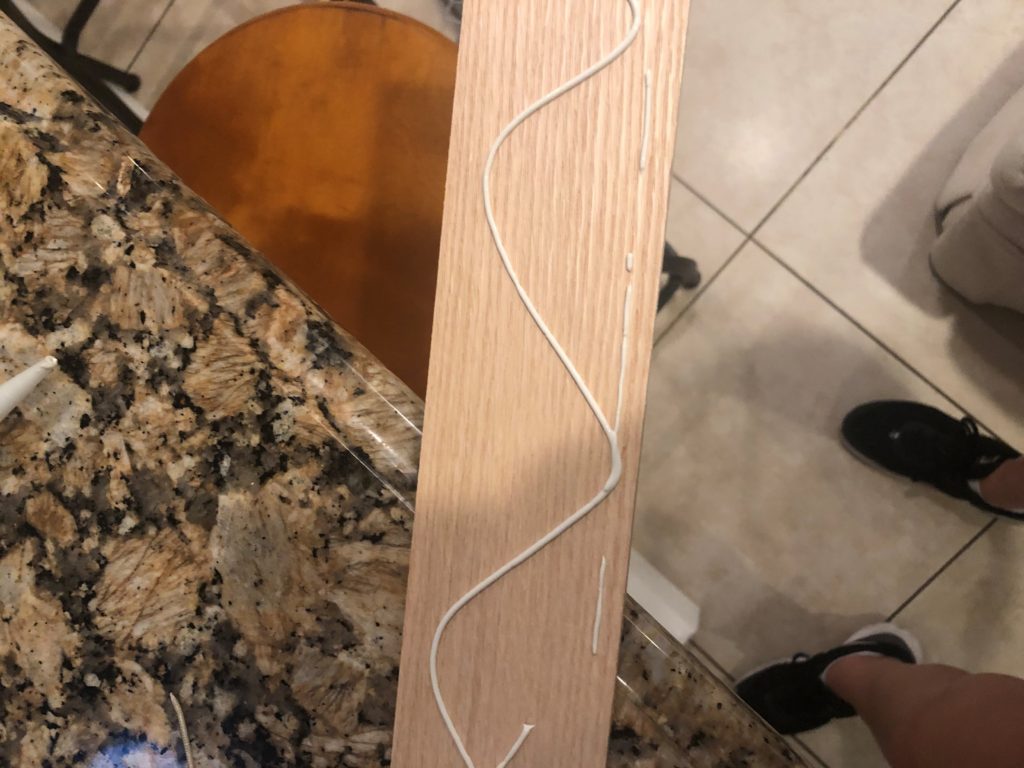
Add your liquid glue
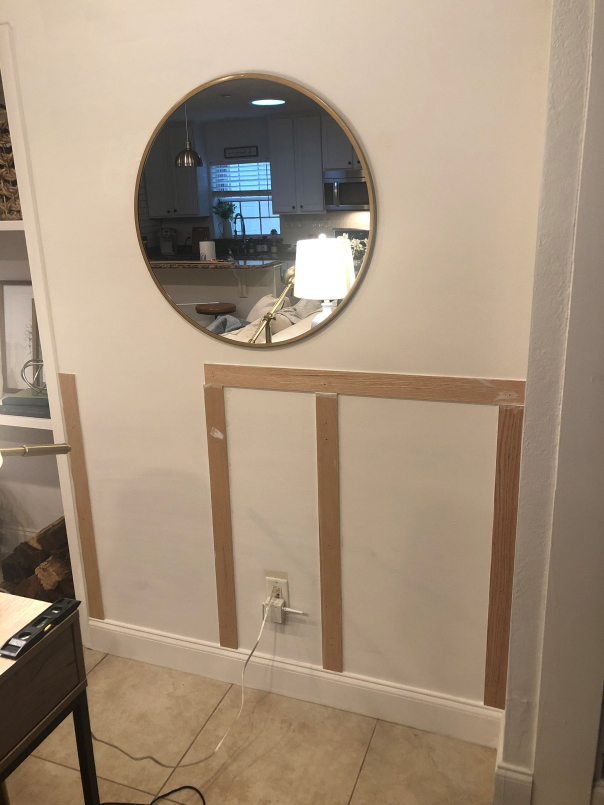
First I added the liquid glue to each plank, to make sure everything will be nice and stable, I then placed the plank on the wall and held for about 30 seconds, we then nailed down each plank one by one with about 34 inches apart from each-other. This was the design we went with but be sure to get creative. So many ways you can go with the plank design.
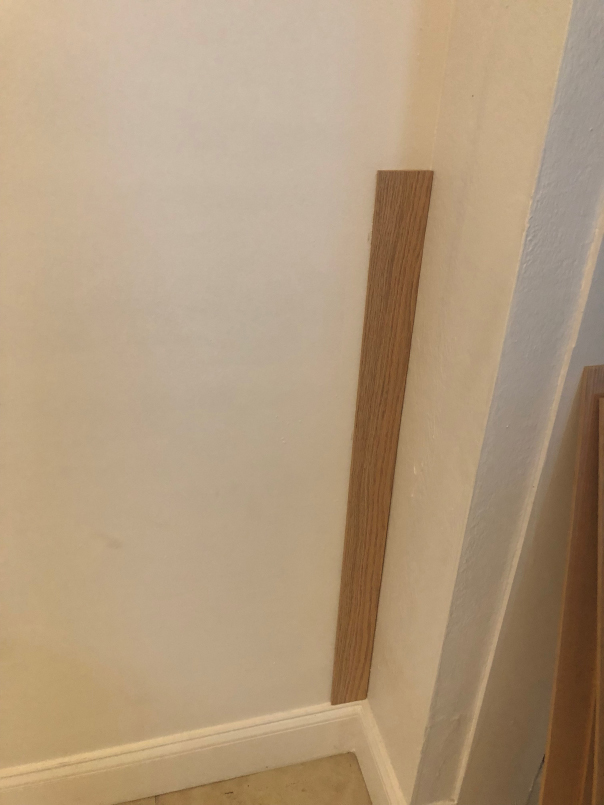
Place each plank and repeat
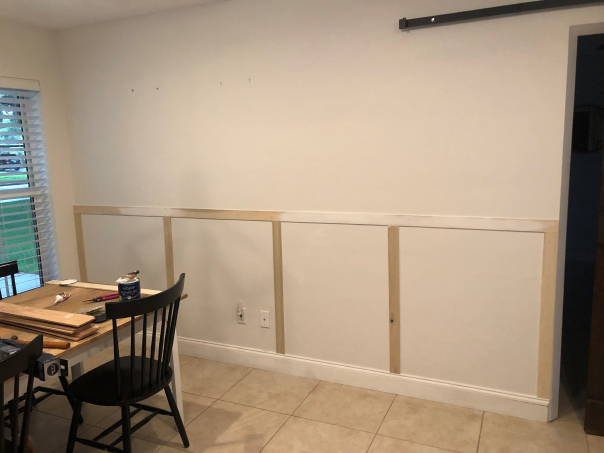
We had to cut down some planks to fit the top, but if you have saw cutter at home, go ahead and measure those pieces and get them to fit right in!
After you add and nail down all of the planks, then add your top molding piece to finish the look! You will then want to caulk the entire area from top to bottom. This will leave it looking clean, elegant and no weird spaces to see.
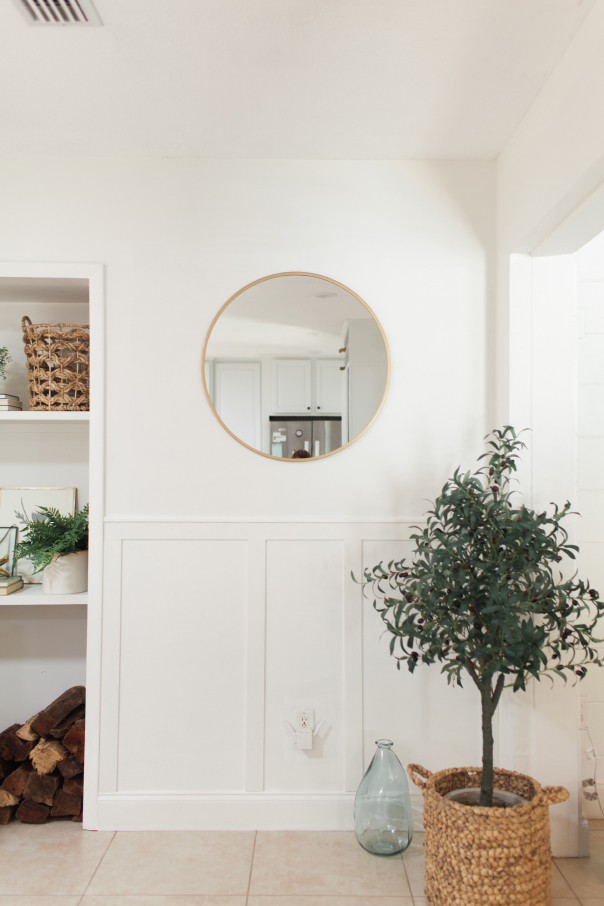
Almost There
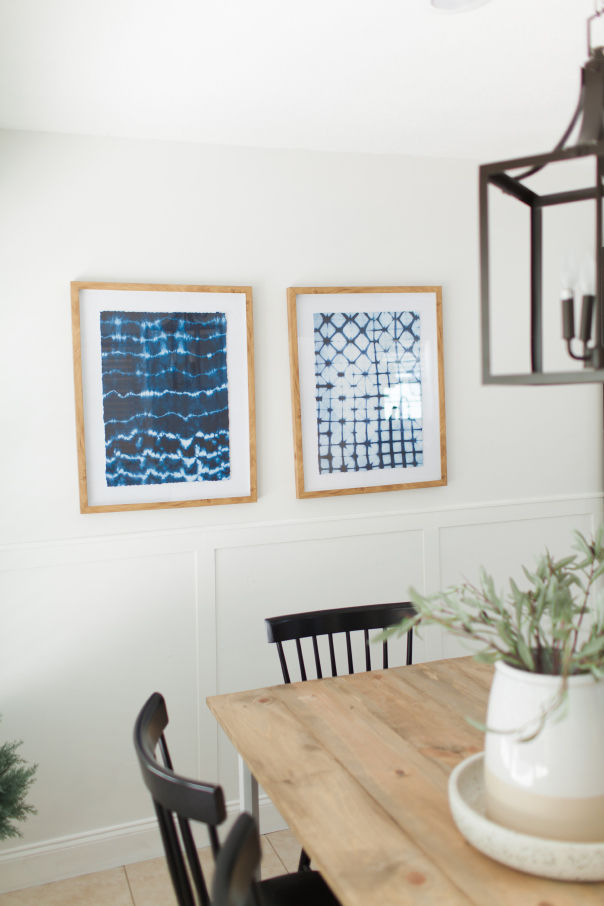
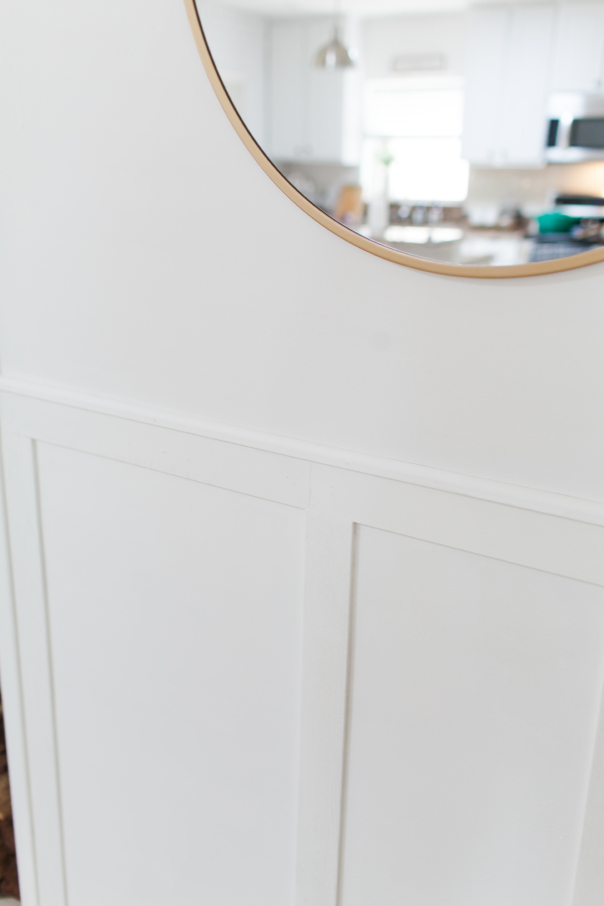
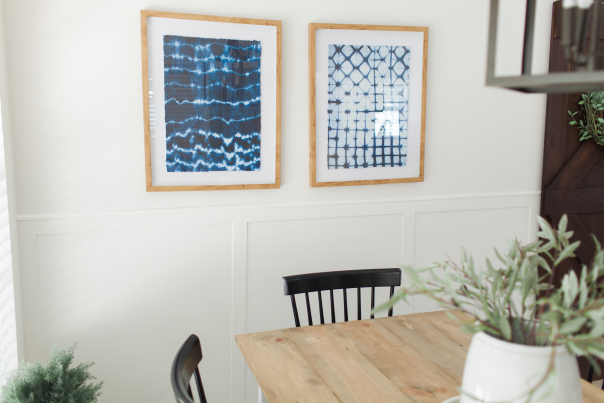
Start painting your entire planks, I even painted the insides just to give it a refresher anyway! That’s it! Look at the below finished product! So easy and it can honestly be done in 1-2 days if you’re looking at under 600 square feet space.
")
