
White Kitchen Cabinets
Some of the links in this post may be affiliate links.
This means if you click through and make a purchase, I may earn a small commission at no extra cost to you. See our disclosure for more info.
When we first moved into our fixer upper, the first eye sore that occurred was every turn I made had dark wood! I wanted the “open concept” floor-plan that I had in my mind. Wherever we decided to move, I wanted to make sure it was going to happen!
This renovation project was the very first one we got our hands on to do. Why? Well, I feel like 80% of the time spent at home is in the kitchen. This is where you socialize, cook, have the best conversation and well it’s an important focal point to any home!

Out with the old and in with the new!
We didn’t buy new cabinets to make this happen. Thanks to help from our handy man Blake, we decided to go ahead and paint over the cabinets with white by Sherwin Williams in “Snowbound“. The first step was removing the cabinets. Once that was done, we sanded them down, primed them then painted. It took about 2 weeks to finish. I’m not going to lie, it was pretty time consuming. It’s nothing that you DIY folks can’t handle. However, make sure to know that if you’re going to start this renovation to give yourself a few hours each day to work on.
You want to make sure to sand these cabinets down and prime them before painting so that the finish is smooth. This will ensure it lasts longer and is easier to clean!

Spray Paint the Old Knobs
Hardware can get pretty expensive, and after looking up prices of new kitchen cabinet handles, I immediately had to think of a more affordable route. So, we decided to spray paint them with a flat paint by Krylon. They looked good as new! You can do this in any color of your choice! Our original ones were this rustic brown. We were going for the more minimal modern farmhouse look, so we decided with flat black spray!

Paint your backsplash
Obviously we are on a budget for our renovations, but I wanted the back splash to look great and to match our new cabinets! Since subway tile was out of the question due to the price, we decided to paint over the original kitchen tile with the same paint we chose for the cabinets. The original backsplash that our previous owners chose was outdated, dark and checkered. Yikes, it had to go. If you want a reminder of how it looked before, scroll on up!


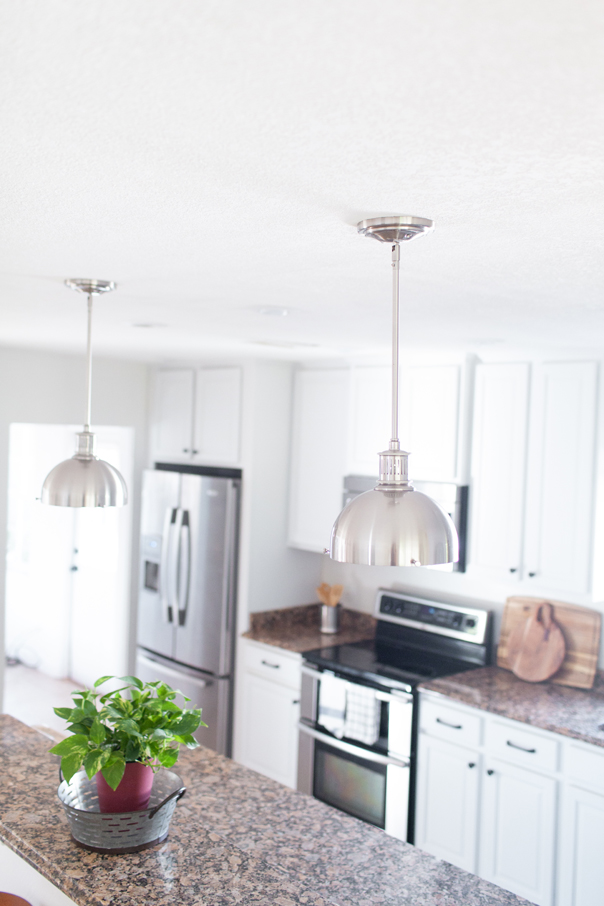
Adding Light Pendents
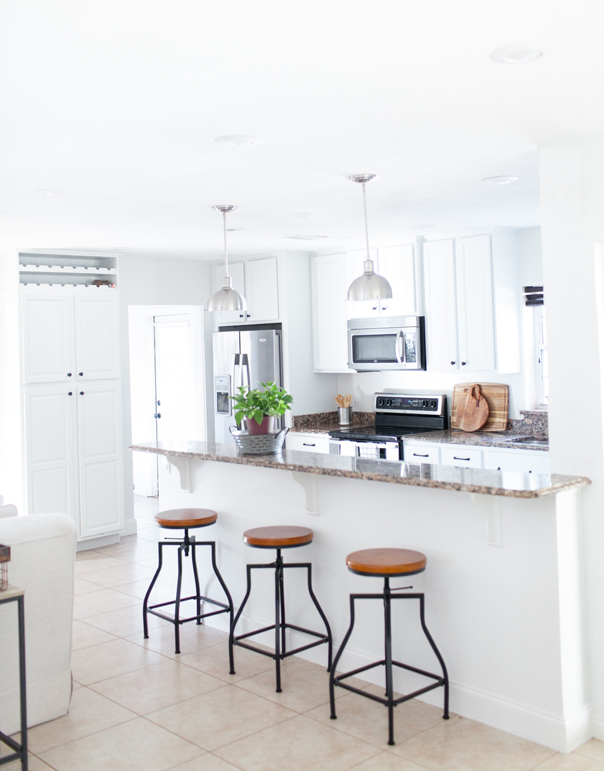
Our previous owners only had LED lights installed but I knew I had to add some stylish light fixtures above the bar area. Thanks to my lovely friends over at Clarkson Lighting, I found the perfect pendents to accent my bar area. Its small size fit beautifully for the look I was going for! These pendents come in three different color options. I chose two of the “Brushed Nickel” as seen in the full photo of our kitchen layout and below.

Brand New(ish) Kitchen
I am so thrilled with the outcome of my new white kitchen! It completely opened up our living space and set the tone for the rest of our home. I was super satisfied with how it turned out. I hope that you can get inspired to change your very own kitchen too! With a little time and effort, you can also have a brand new kitchen without spending the big bucks! Check out more Home Decor posts on the blog or even try a Recipe!
What paint color did I use? “Snowbound SW 7004” which is by Sherwin Williams.

")
